Sediment should be removed from a bioswale before it blocks water entry, buries vegetation, seals the soil surface, or redirects runoff around the treatment area. The goal is not to keep every exposed surface perfectly clean. It is to prevent accumulated material from changing the intended flow path, infiltration, and plant conditions.
Most sediment settles near curb cuts, pipe outlets, forebays, check dams, low points, and other places where runoff slows. These deposits can be useful at first because they keep grit and soil from moving farther into the bioswale. Once the deposit becomes too thick or compacted, however, it can become a source of clogging, erosion, and poor drainage.
Why Sediment Builds Up in a Bioswale
Stormwater runoff carries loose particles from impervious and disturbed surfaces. The material may include soil, road grit, leaf fragments, mulch, fine organic matter, pavement dust, and debris produced by construction or landscape work.
A bioswale slows that runoff. As water loses speed, heavier particles settle near the inlet, while finer particles may travel farther along the swale or collect on the soil and mulch surface. This settling process is part of how a vegetated swale protects downstream drainage systems, but the captured material must remain manageable.
- Roadside runoff may carry grit, soil, leaf litter, and winter maintenance residue.
- Parking lot runoff often brings pavement dust, landscape soil, and debris from vehicle movement.
- Driveway runoff may carry sand, eroded soil, and material washed from adjoining beds.
- Construction runoff can deliver a large sediment load over a short period.
- Upstream erosion may continue feeding sediment into the bioswale until the source is stabilized.
The amount and texture of sediment vary by site. A small residential bioswale receiving roof runoff may collect little mineral soil, while a curbside system below an exposed slope may need frequent attention.
Where Sediment Usually Collects
Deposits rarely spread evenly across the entire system. They form where water enters, slows, changes direction, or passes an obstruction. Inspection should therefore follow the runoff route rather than focus only on the center of the planting area.
| Location | What Usually Happens | What to Check |
|---|---|---|
| Curb cut or inlet | Coarse grit and debris settle as runoff enters the bioswale. | Blocked openings, raised sediment lips, bypass flow, and erosion beside the inlet. |
| Inlet apron or forebay | Material collects in a planned pretreatment area. | Remaining storage space and whether sediment is spilling into planted soil. |
| Upstream side of a check dam | Flow slows and deposits form behind the structure. | Buried stones, uneven flow, channel formation, and damage around the dam ends. |
| Low point in the swale | Fine particles settle where water ponds. | Surface sealing, slow drainage, buried crowns, and standing water beyond the expected drain-down period. |
| Outlet or overflow structure | Debris and sediment restrict discharge. | Blocked grates, narrowed openings, erosion, and water leaving by an unintended route. |
| Edges beside bare soil | Soil washes from adjoining slopes or beds. | Active erosion outside the bioswale and repeated deposits after rainfall. |
Why Sediment Removal Matters
It Keeps the Inlet Open
A ridge of sediment can form across a curb opening or inlet apron. Even a shallow ridge may push runoff along the curb instead of allowing it to enter the bioswale. Water may then bypass the planted area, concentrate at another low point, or enter a conventional drain without receiving surface treatment.
An inlet does not need to look spotless. It needs a clear route that allows runoff to spread into the intended treatment area without cutting a narrow erosive channel.
It Protects Soil Infiltration
Fine sediment can settle into surface pores and create a dense layer over soil media. This layer may slow infiltration even when the soil below remains suitable. Repeated foot traffic, maintenance equipment, or dried sediment can make the surface more compact.
Surface clogging is often patchy. One section may drain normally while another holds water because the sediment load, plant cover, or runoff pattern differs across the swale.
It Prevents Plants from Being Buried
Grasses, sedges, rushes, and other bioswale plants can trap suspended material around their stems. Thin deposits may cause little harm. Deeper deposits can cover plant crowns, reduce air movement near the soil surface, smother low-growing vegetation, and change the moisture conditions around roots.
Young plants are especially vulnerable because their crowns and new shoots sit close to the surface. Sediment management is therefore closely tied to plant establishment, not only drainage performance.
It Preserves Ponding and Storage Space
Accumulated material gradually raises the bottom of an inlet bay, forebay, or shallow ponding area. As storage space is lost, runoff may spread sooner, reach an overflow more often, or leave the bioswale before settling and infiltration can occur as intended.
A few isolated deposits may have little effect. A broad layer that changes grade or fills a defined sediment zone deserves attention.
It Helps Prevent Erosion and Short-Circuiting
Sediment can redirect flow around plants, check dams, or inlet protection. Water may begin following a narrow channel instead of spreading across the vegetated surface. This shortened route is sometimes called short-circuiting: runoff moves through the system too directly and leaves less contact time with soil and vegetation.
Removing the deposit without correcting the redirected flow may provide only temporary relief. The grade, inlet alignment, check dam condition, or upstream erosion source may also need review.
When Sediment Should Be Removed
A fixed calendar alone is not enough. Removal should be based on what the sediment is doing to the bioswale. Inspections after major runoff events, seasonal leaf fall, winter maintenance, construction activity, or nearby soil disturbance can reveal changes before they become difficult to correct.
Removal is usually warranted when one or more of the following conditions appear:
- Sediment narrows or blocks an inlet, curb cut, grate, pipe opening, or overflow.
- Runoff bypasses the bioswale or enters through an unintended path.
- A deposit has filled much of a designated forebay or sediment capture area.
- Plant crowns, low foliage, or newly installed plugs are being buried.
- A hard surface crust forms and water drains more slowly than the site normally allows.
- Sediment has changed the grade enough to create unwanted ponding or a new flow channel.
- Check dams are buried, undermined, or no longer spreading flow.
- Loose deposits are washing farther through the bioswale during each storm.
- Repeated accumulation points to active erosion or an unstable upstream surface.
Visible sediment is not automatically a maintenance failure. Pretreatment zones are meant to collect material. The question is whether the deposit still fits within the area designed to hold it and whether water can continue moving safely.
Maintenance Note: Compare current conditions with earlier inspection photos, grade markers, curb reveal, check dam height, or the original sediment bay depth where such records are available. A change over time is often more useful than judging an isolated deposit by appearance alone.
Sediment Depth Is Not the Only Trigger
No single removal depth applies to every bioswale. A shallow layer of fine material over a large infiltration surface may cause more trouble than a deeper pile contained inside a forebay. The effect depends on sediment texture, location, compaction, vegetation, soil media, and the way runoff enters the site.
Coarse sand and gravel usually behave differently from fine silt or clay. Fine material can seal pores and form a crust. Coarser material may occupy storage space, bury inlet stone, or alter grade without creating the same surface seal.
Useful removal triggers combine several observations:
- Hydraulic effect: Is runoff entering, spreading, ponding, and leaving through the intended route?
- Soil effect: Is the surface open and friable, or sealed and compacted?
- Plant effect: Are crowns, stems, and new shoots exposed at a suitable level?
- Storage effect: Does the forebay or ponding area still have usable volume?
- Maintenance access: Can the material be removed without damaging roots, soil media, or drainage components?
How Sediment Removal Is Usually Handled
Small deposits near an inlet can often be removed with hand tools. Larger public, roadside, or commercial systems may require vacuum equipment, small machinery, traffic control, or a planned maintenance closure. The method should match the deposit size and the sensitivity of the planted soil.
Inspect Before Disturbing the Surface
Confirm where the original soil surface, mulch layer, stone apron, check dam, inlet protection, and plant crowns are located. Removing too deeply can strip away filter media or expose an underdrain component. Removing too little may leave the blocking layer in place.
Also check whether the deposited material is wet, dry, crusted, mixed with mulch, or interwoven with roots. These conditions affect how easily it can be lifted without tearing plants from the soil.
Work from the Accumulation Zone Outward
Removal often begins at the inlet, forebay, or upstream side of a check dam. Material should be lifted rather than pushed farther into the bioswale. Dragging sediment across the planting bed can spread fine particles over clean soil and damage stems.
Avoid Mixing Sediment into Filter Media
Tilling deposited fines into the soil may move clogging material deeper into the profile. Light surface loosening may help in limited cases after the deposit is removed, but aggressive cultivation can harm roots, disturb designed grades, and mix mulch or contaminants into the soil media.
Where infiltration remains slow after careful surface cleaning, the issue may involve deeper compaction, damaged media, prolonged saturation, an underdrain problem, or unsuitable underlying soil. Simple sediment removal may not solve it.
Restore the Intended Surface
After removal, the area may need minor regrading, mulch replacement, stone resetting, erosion repair, or plant replacement. The restored surface should guide water into the swale without creating a steep drop, isolated pit, or narrow chute.
Plants should not be buried during restoration. Their crowns should remain near the soil surface at the level suited to the species and planting method.
Soil Note: If removal exposes the designed soil media, avoid replacing the lost layer with ordinary topsoil unless the project design allows it. Soil texture, organic matter, compaction, and drainage behavior can differ from the original media.
What to Do with Removed Sediment
Removed material should not be piled where rainfall can wash it back into the inlet, onto a sidewalk, or into a storm drain. Temporary storage needs a stable surface and protection from runoff.
Disposal or reuse depends on the sediment source and local requirements. Material from a residential roof-drainage area may differ from sediment collected beside a busy roadway, parking area, industrial surface, or site with a spill history. Appearance alone cannot confirm whether material is suitable for reuse.
Where contamination is possible, site records, local disposal rules, or professional testing may be needed before the sediment is placed in planting beds, spread on soil, or transported off-site.
Removal Without Source Control Leads to Repeat Work
A bioswale may collect sediment exactly as intended, but unusually rapid buildup often points to a problem outside the swale. Cleaning the inlet every few weeks will not correct an eroding slope, unstable shoulder, unprotected construction area, failing pavement edge, or soil-filled gutter.
Look upstream for:
- Bare soil on slopes, verges, planting beds, or utility work areas.
- Mulch washing from beds into the runoff path.
- Unstabilized construction entrances or stockpiles.
- Broken curbs, pavement edges, or drainage channels.
- Downspouts or pipes discharging onto erodible soil.
- Concentrated flow that cuts through turf before reaching the bioswale.
- Winter grit or landscape material stored near curb openings.
Source control may involve stabilizing soil, changing how runoff enters, adding a pretreatment area, repairing an eroded edge, or adjusting maintenance practices on the contributing surface. The right response depends on ownership, drainage layout, and site conditions.
How Sediment Affects Different Bioswale Components
Inlets and Curb Cuts
These areas receive the first and often heaviest sediment load. A raised deposit can reduce the effective opening and cause runoff to pass by. Inlet stone may also become embedded in fines, reducing its ability to spread flow and protect the soil from erosion.
Mulch
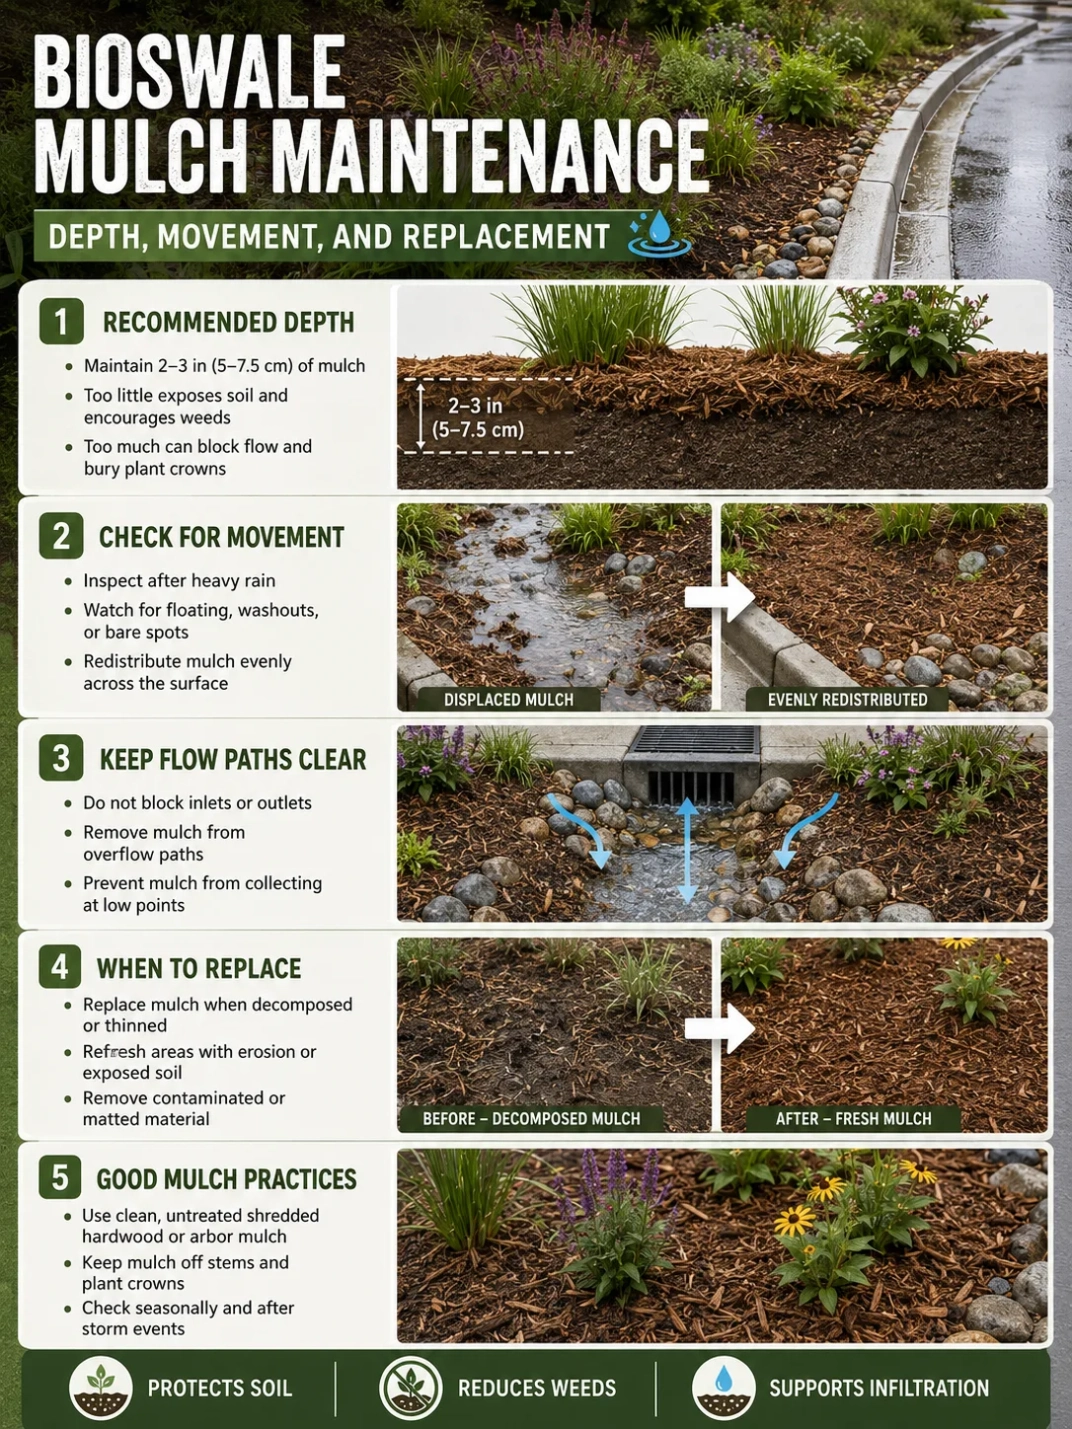
Sediment can fill the spaces within mulch and form a dense mixed layer. In some cases, the affected mulch can be lifted with the deposit and replaced. Simply adding new mulch over a clogged surface may hide the problem while raising the grade around plants.
Vegetation
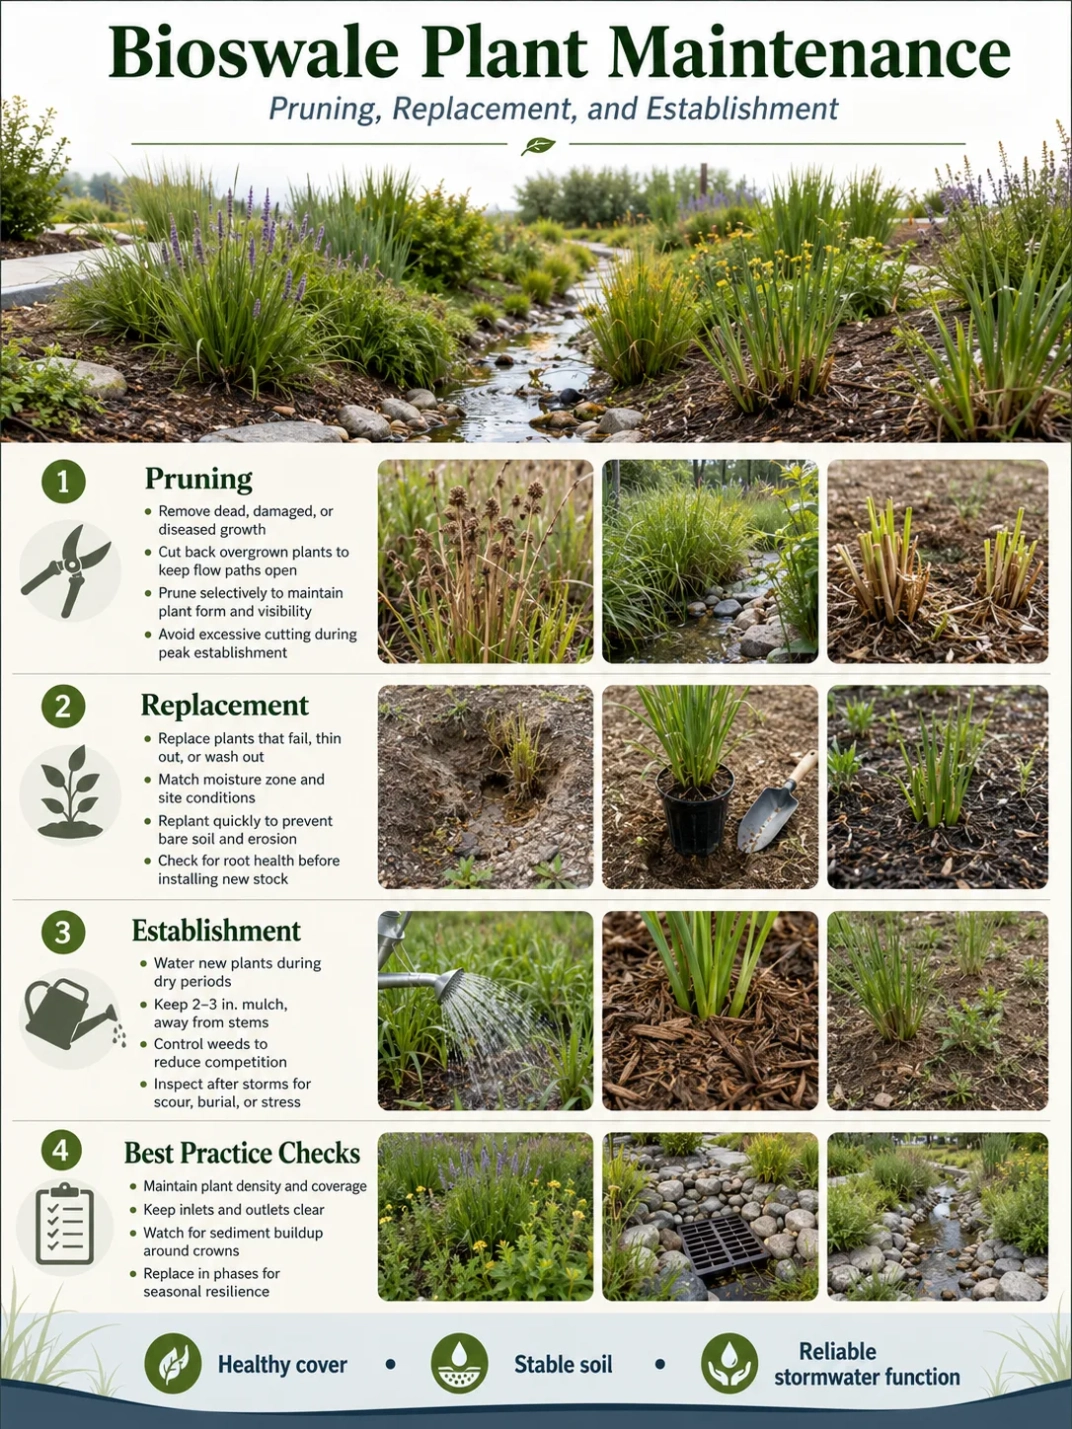
Dense stems slow water and capture particles. This is useful, but deposits around plant bases should be checked before they cover crowns or prevent new shoots from emerging. Plants at high-load inlets may need thinning, lifting, or replacement after sediment removal.
Check Dams
Check dams reduce flow speed and may collect sediment on their upstream side. The deposit should not bury the crest, force water around the ends, or create a channel through the structure. Damaged stones or soil checks may need resetting after cleaning.
Underdrains and Cleanouts
An underdrain lies below the soil media, so ordinary surface sediment should not be excavated down to the pipe. Cleanouts, observation wells, and outlet connections should remain visible and accessible. Sediment entering these features may point to a damaged cap, open connection, erosion path, or installation issue.
Overflow Routes
An overflow must remain open even when the bioswale receives more water than it can pond or infiltrate at that moment. Sediment, leaves, and displaced mulch can reduce the opening or redirect water toward a sidewalk, building, roadway, or neighboring property.
Common Sediment Removal Mistakes
- Removing only litter: Leaves and trash may hide a compacted mineral layer underneath.
- Scraping too deeply: Excavation can remove filter media, change ponding depth, or expose drainage components.
- Spreading deposits across the swale: This moves fine particles onto soil that was still functioning well.
- Adding mulch over buried plants: Extra material can raise the surface and cover crowns.
- Using heavy equipment on wet soil: Tires and tracks may compact the treatment area.
- Ignoring the upstream source: The same deposit returns because erosion or material tracking continues.
- Blocking the overflow during cleanup: Stockpiled sediment and tools can obstruct the safe high-water route.
- Assuming slow drainage is caused only by sediment: Soil compaction, saturated native soil, damaged media, or outlet problems may also be involved.
Inspection After Sediment Removal
The next runoff event provides useful evidence. Water should enter through the intended opening, spread without severe erosion, pond in the designed area, and move toward the outlet or overflow route as planned.
Check the cleaned area for:
- New scour at the inlet or around check dams.
- Water bypassing the restored surface.
- Exposed roots or plant crowns.
- Fresh sediment arriving from an untreated source.
- Persistent ponding in only one part of the bioswale.
- Mulch or stone moving into the outlet.
- Settlement where too much material was removed.
Photographs taken from the same position after rain can make future inspections more consistent. Record where material was removed, whether plants were replaced, and whether upstream erosion was corrected.
Residential and Public-Space Differences
A small residential bioswale may be maintained with hand tools and close observation of roof, driveway, and yard runoff. The main concerns are protecting planted soil, keeping water away from foundations, and preserving a safe overflow route.
Roadside, parking lot, campus, and other public-space systems may receive larger sediment loads and require access planning, worker protection, traffic management, disposal records, or specialized equipment. These systems may also contain structures that should not be altered without reviewing the approved drainage design.
Site Planning Note: Professional review is appropriate when sediment removal would change designed grades, disturb an underdrain, expose geotextile, affect a roadway or building drainage route, or require work near utilities. It is also useful when ponding continues after the surface has been cleaned.
Bioswale Sediment Removal FAQ
How often should sediment be removed from a bioswale?
Removal should follow observed buildup rather than a universal schedule. Inspect inlets, forebays, check dams, low points, and outlets after heavy runoff, seasonal debris periods, construction activity, or other events that may deliver extra material.
Does all visible sediment need to be removed?
No. A thin or contained deposit may not interfere with performance. Removal becomes more important when sediment blocks flow, buries plants, seals soil, fills a pretreatment zone, changes grade, or reduces storage space.
Can sediment cause standing water?
Yes. Fine sediment can seal surface pores, while broader deposits can change grade and create low spots. Standing water may also result from compacted soil, saturated native soil, an underdrain problem, or a blocked outlet, so the full drainage path should be checked.
Should new mulch be placed over sediment?
Not when the sediment forms a dense layer or has raised the surface around plants. The deposit should usually be assessed and removed first. Adding mulch over it can hide clogging and further bury plant crowns.
Why does sediment keep returning after cleaning?
Repeated buildup often means the contributing area still contains an active source, such as bare soil, an eroding slope, unstable pavement edge, construction activity, or concentrated runoff. Cleaning the bioswale without correcting that source leads to repeated maintenance.
Can removed bioswale sediment be reused in the landscape?
Reuse depends on where the material came from and whether contamination is possible. Sediment from roadways, parking areas, industrial surfaces, or sites with a spill history may need evaluation and disposal under local requirements. It should not be spread elsewhere based only on appearance.